


 English
 Español

How to Mount Hard Saddlebags on an Electric Bicycle
Rack rating, tire clearance and bolt torque decide whether a hard bag stays put at 25 km/h. Shell material, straps and styling come after those three.
A rider clamps a 4 kg hard pannier to the seatstay of a commuter e-bike, tightens four bolts by feel, and rides 30 km to work. Two weeks later there are polished stress marks around the upper bolt holes and a hairline crack in the powder coat. Nothing dramatic happened. The bag simply had no rigid platform underneath it, so every bump fed load straight into a thin tube that was never designed to carry it.
Hard saddlebags behave differently from soft ones. A soft bag flexes, sags and forgives a weak mount. A hard-shelled pannier is a rigid box, so it transfers every gram of cargo and every road input directly into the rack, the frame or whatever bracket you bolted it to. Mounting one properly is a load-path problem before it is an accessory problem.
Start with the rack, not the bag
If your e-bike left the shop without a rated rear rack, that rack is the first purchase, and a seatpost clamp rack is the wrong one for hard luggage. Clamp racks rely on friction around a round tube; a rigid 5 kg box with a lever arm above the clamp will rotate it on the first hard bump. Seatpost racks suit soft bags of 5 kg or less, not rigid shells.
Look for a frame-mounted rack with four contact points and a stated capacity. Typical light e-bike racks are rated between 20 kg and 27 kg, while the hard bags themselves usually weigh 3.5 kg to 6 kg each before you put anything inside. A pair of 5 kg bags plus 8 kg of cargo is already 18 kg, which leaves very little margin on a 20 kg rack.
- Four mounting points minimum: two at the dropout area, two near the seat cluster.
- A flat, parallel top platform, so the two bags sit at the same height.
- Side rails or pre-drilled hanger holes rather than a bare top plate.
- Visible capacity or torque markings, which is a sign the rack was engineered rather than bent.
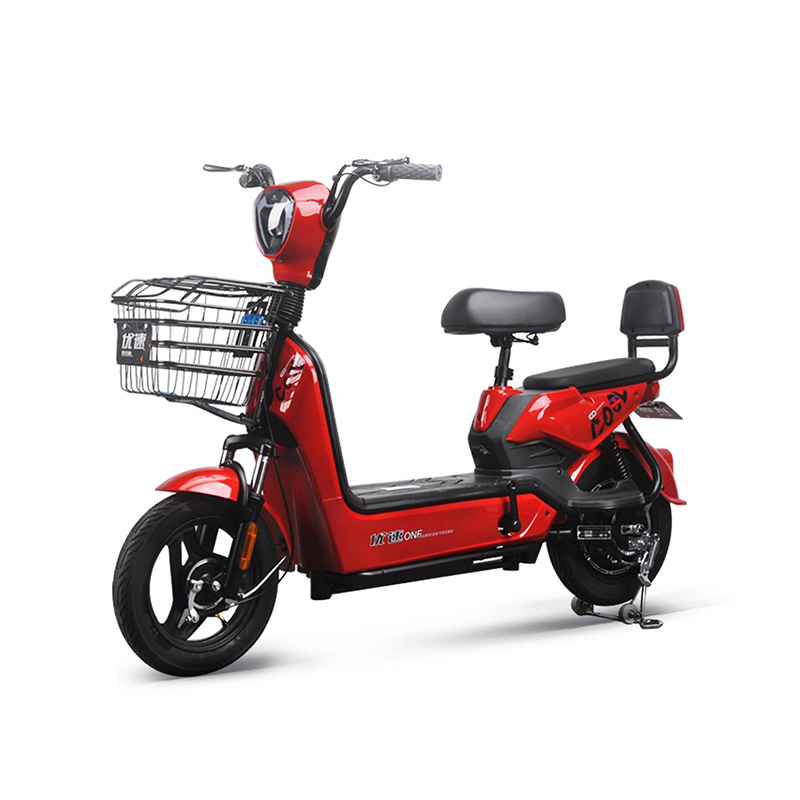
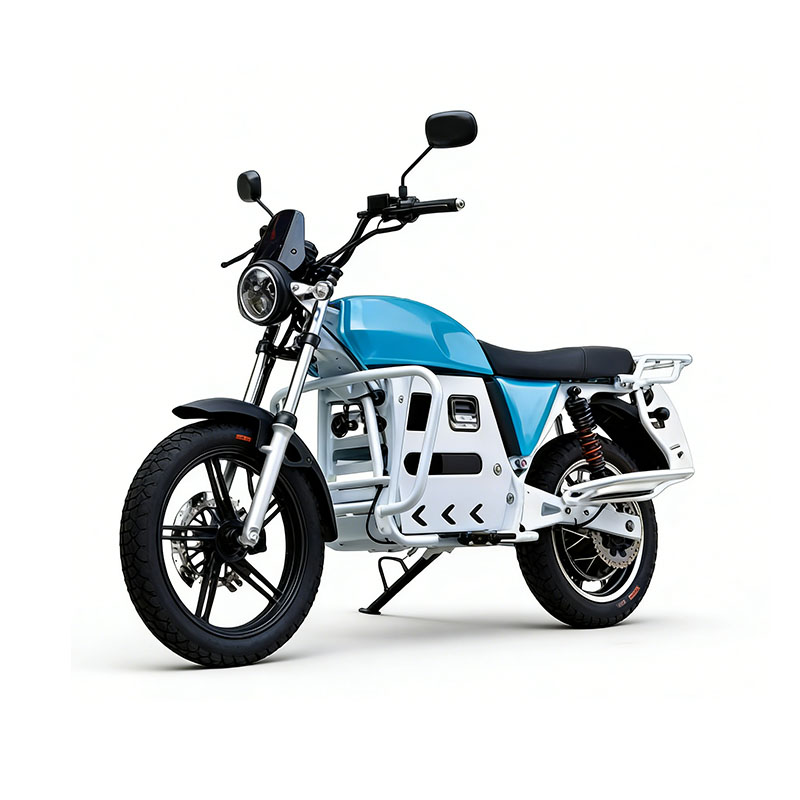
Frame strength matters as much as the rack. Frames built for loaded rear ends, such as the strengthened, thickened professional frame on the 12-inch Champion I, are the exception on light commuter e-bikes rather than the rule. On a standard aluminium frame, the rack spreads the load; on a thin seatstay, a bracket bolted directly to the tube concentrates it.
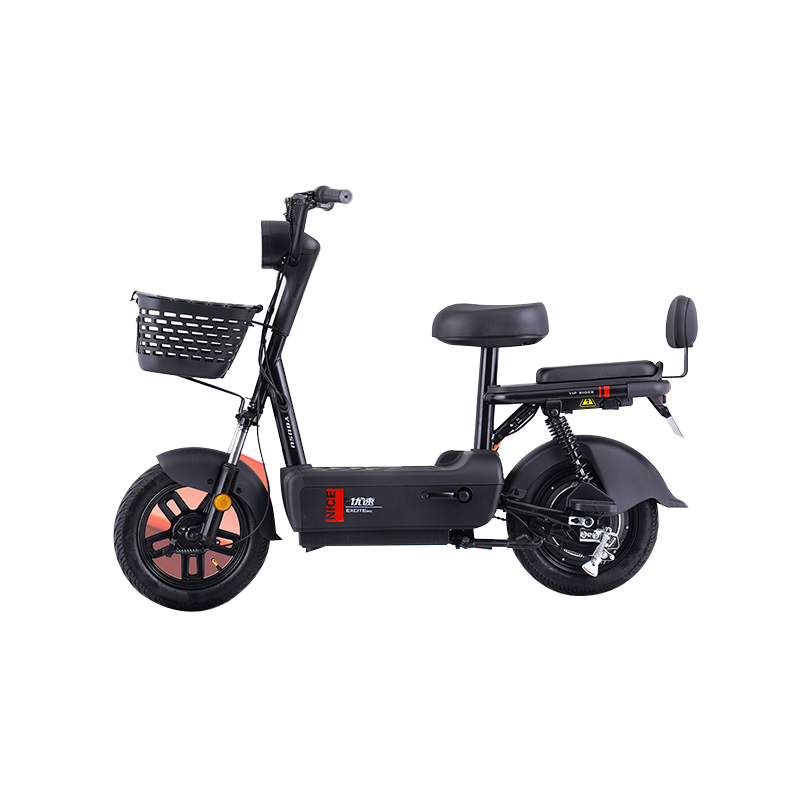
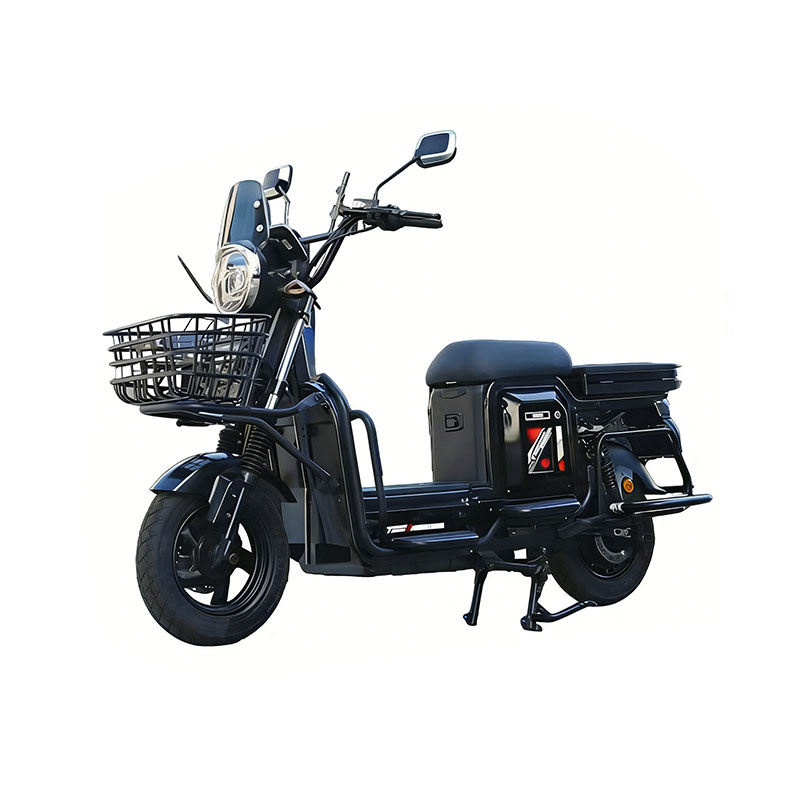
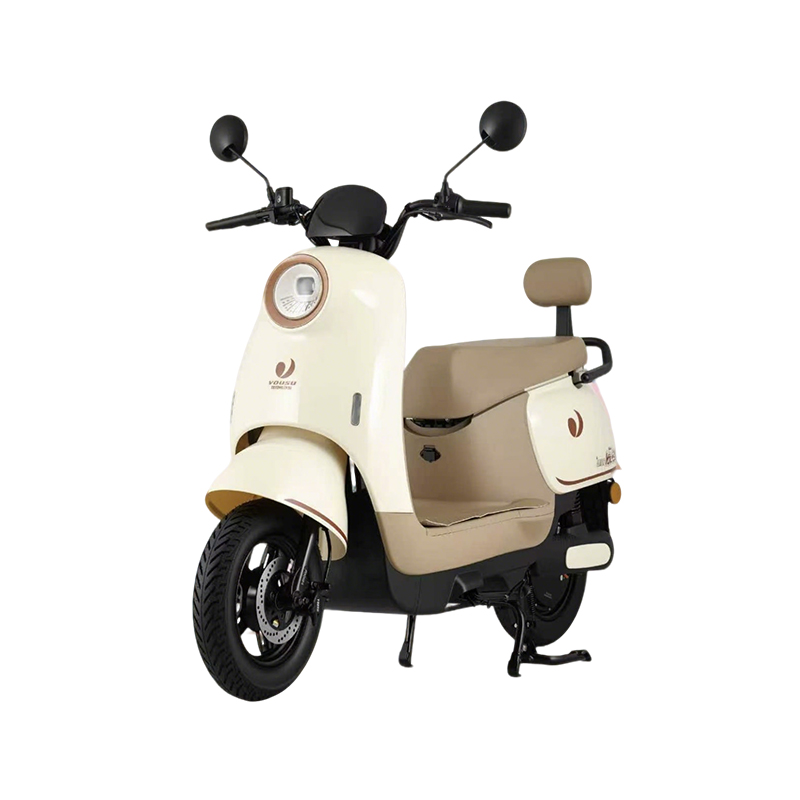
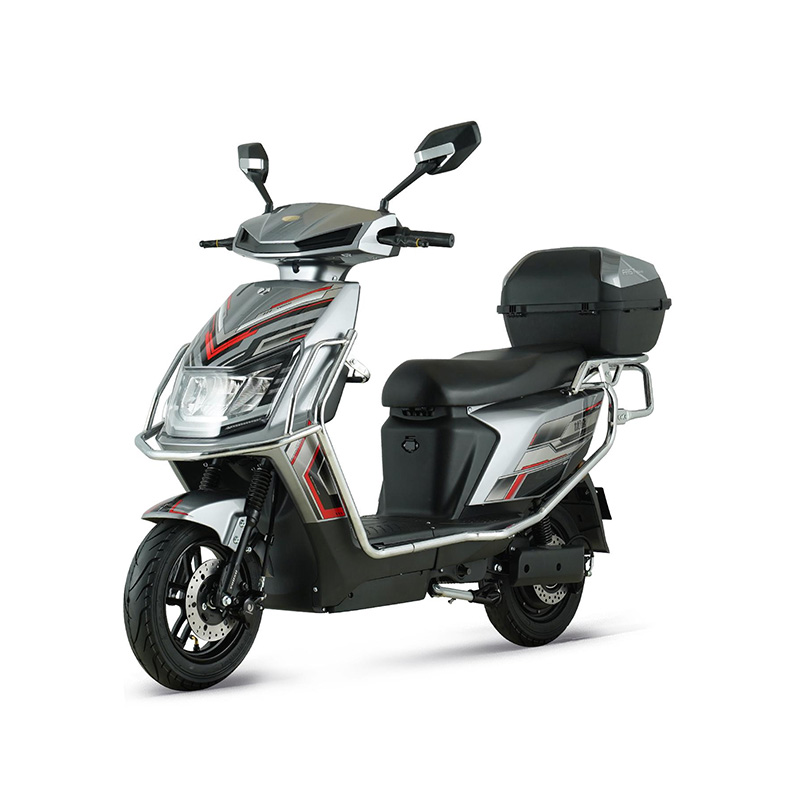
 Yousu Cyclist Champion I 12-Inch Electric MotorcycleReinforced steel frame and included tail box make this model relevant when checking rack strength and mounting hardware before fitting hard bags.View Product →
Four mounting systems and what each one demands
Most hard bags reach the bike through one of four routes. Identify yours before you buy hardware, because the bolt pattern, not the bag brand, sets the installation time.
| Mounting system | Works with | Typical hardware | Main risk |
|---|---|---|---|
| Two-rail rear rack with top clips | Hard panniers with adjustable hangers | M5 or M6 bolts, four rack mounts | Rack rated below bag plus cargo weight |
| Saddlebag-specific side brackets | Frames with pre-drilled mounting points | Three-point bracket, M6 bolts | Bracket flex on washboard surfaces |
| Seatpost clamp rack | Soft bags only, under 5 kg | Quick-release collar | Rotation and shell-to-frame contact |
| Fender strut or swingarm plate | Full-suspension and small-wheel e-bikes | Custom plate, M8 bolts | Interference with cable and suspension travel |
The swingarm option deserves a warning. On a full-suspension e-bike, a rack bolted to a moving swingarm travels with the wheel, while one bolted to the main frame does not. Mixing the two splits the load and eventually cracks a bracket. Choose one plane and stay in it.
Clearance numbers to check before you tighten anything
Dry-fit the bags with the bike unloaded, then repeat the check with a rider on board. Static clearance is not the number that matters; compressed clearance is.
- Tire: keep 25 mm minimum from the bag's inner face when parked, and 40 mm when the rear suspension or tire is fully compressed.
- Chain and derailleur: 50 mm from the drive-side bag at its closest point through the full suspension stroke.
- Heel: 150 mm behind the pedal spindle at the rear of your shoe, otherwise every pedal stroke scuffs the shell.
- Brakes: 10 mm clear of the disc rotor, caliper and hose. Never let a bracket pinch a hose.
- Lights and plates: indicators, reflectors and number plates must stay visible from behind and from the side.
Measure clearance with a zip tie taped to the bag's inner face, then bounce the rear end. If the tie shows scuffing, the bag is too close, even if it looks fine when parked.
Torque, threadlocker and a 20-minute vibration test
Hard bag hardware comes loose because vibration, not because of weak bolts. Medium-strength threadlocker on every fastener and a calibrated torque wrench solve most of it.
- Dry-fit the rack and bags, mark the position with tape, then remove everything.
- Apply medium threadlocker to clean, dry threads. Oil or grease on the bolt defeats it.
- Tighten M5 fasteners to 5 to 6 Nm, M6 to 8 to 10 Nm and M8 to 15 to 20 Nm, or to the figure printed on the rack.
- Route the motor cable and any lighting loom away from bracket edges, keeping a 30 mm bend radius.
- Bounce the rear end 20 times with the bags loaded, then re-check every bolt before the first ride.
Never drill a frame tube, seatstay or swingarm to create a mounting point. Clamping around a tube is reversible; a drilled hole in a loaded member is not. On carbon seatposts or stays, use only the clamps and brackets the frame maker approves.
Plan the load before you bolt anything on
Weight placement changes handling more than bag choice does. Keep the heavy items low and toward the front of each bag, mirror the load left to right, and stay at roughly 70 percent of the rack's rated capacity on broken surfaces. A rear-heavy e-bike with a hub motor already carries mass low and back; adding 15 kg above the axle makes the front wheel light in corners and long on braking.
If the bike is also carrying tools or deliveries, check the frame and rack against published load figures rather than guessing. Guides on cargo electric bicycles and their load ratings are a useful reference for how much rear weight a light frame tolerates.
Quick loading rule: nothing heavier than 5 kg per bag, nothing above 27 kg total on the rack, and a re-check of bolt torque after the first 50 km.
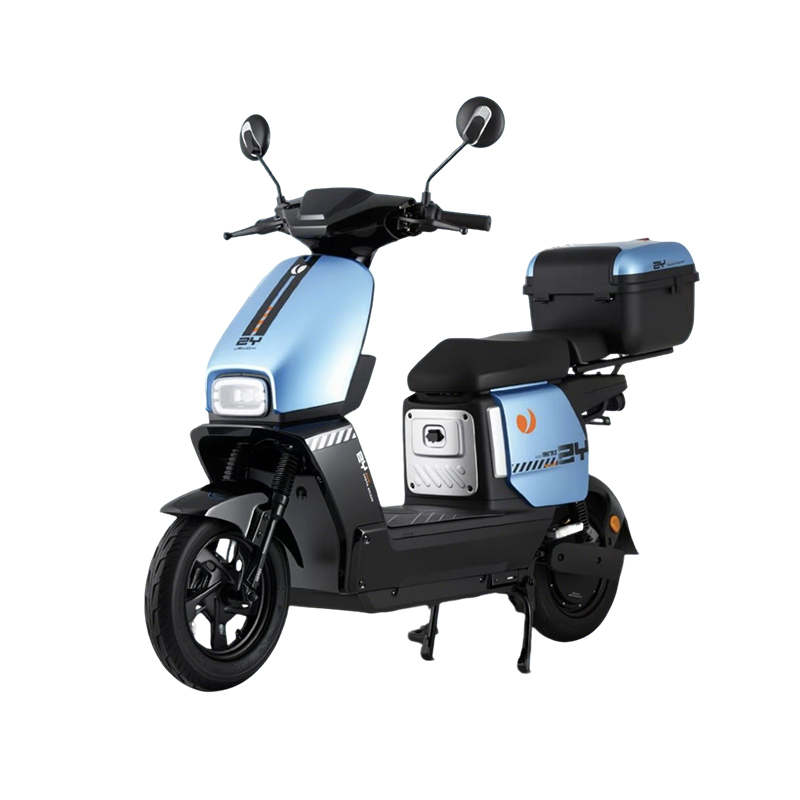
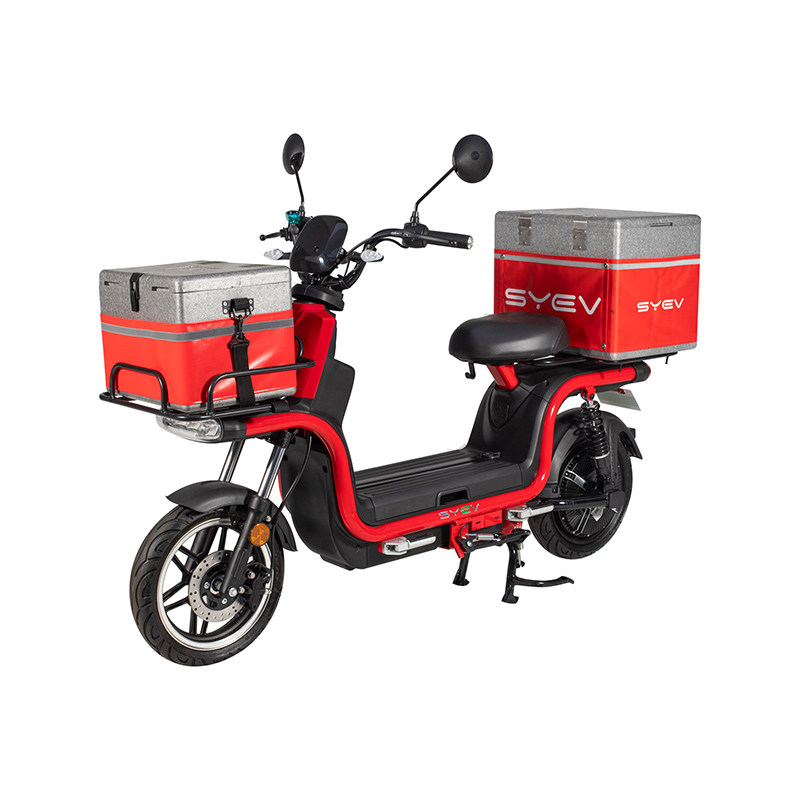
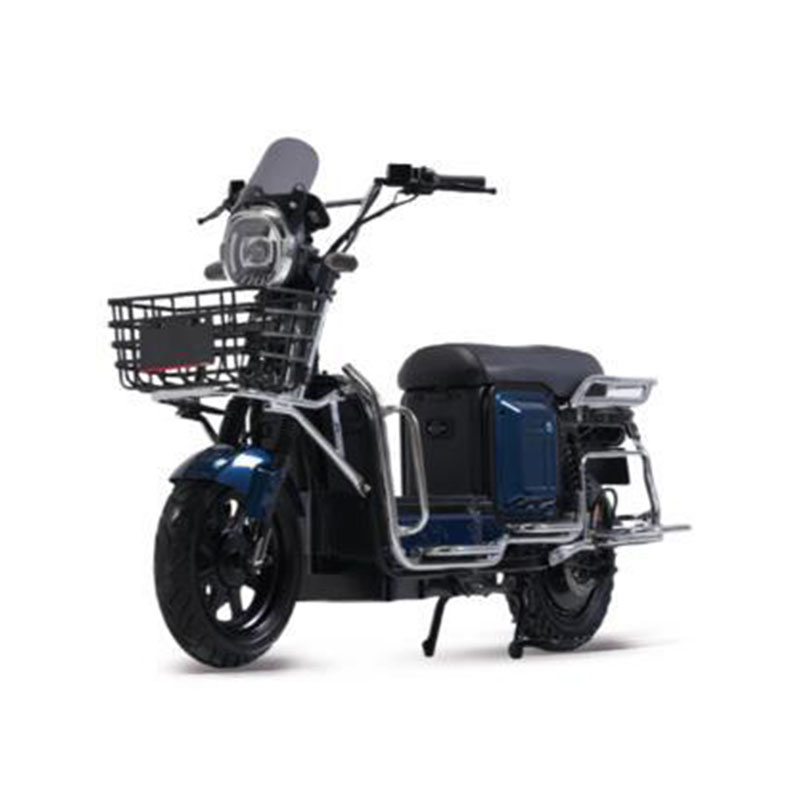
Purpose-built cargo machines show where the margins sit. A logistics-oriented model such as the 1200W delivery e-scooter with lithium battery is built around a reinforced rear end and a rack designed for repeated loading, which is a different engineering brief from a commuter frame carrying one bag twice a week.
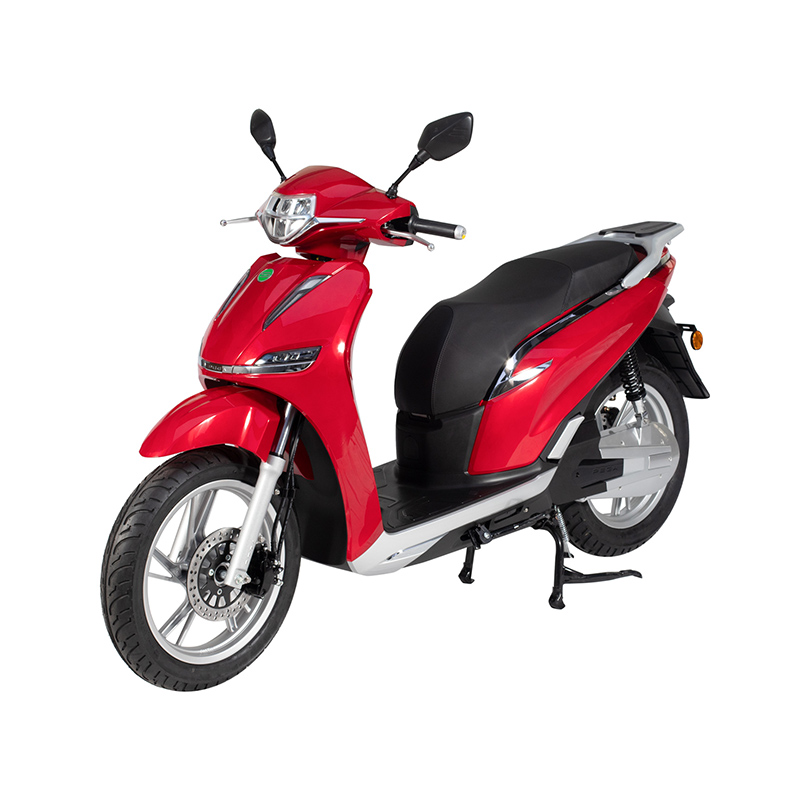
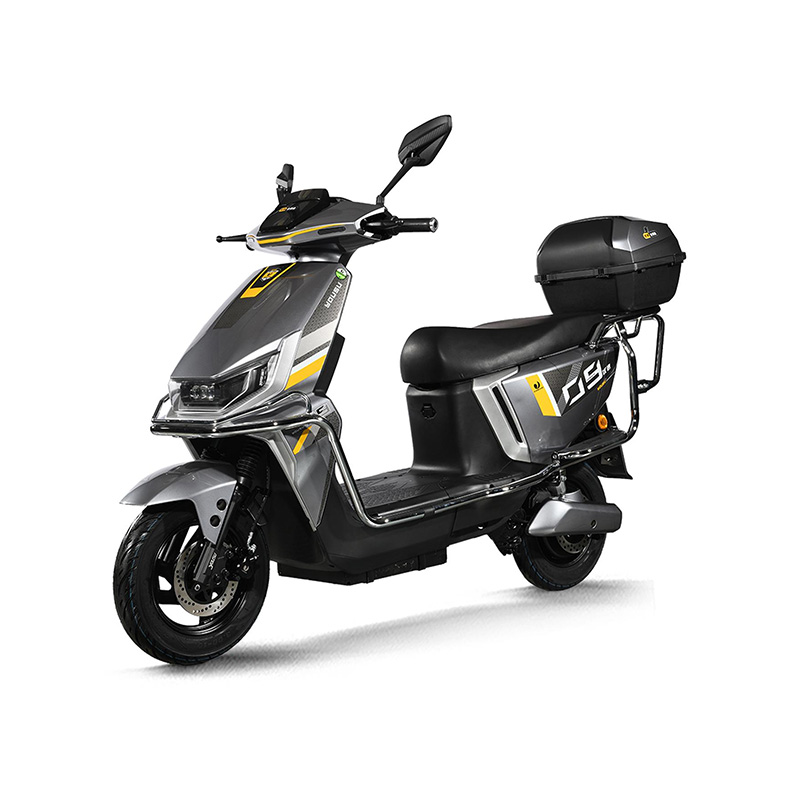
 1200W Logistics Delivery Electric Scooter with Lithium BatteryReinforced rear end and rack designed for repeated loading suit fleet buyers assessing bracket standardization and procurement across delivery scooters.View Product →
Specifying bags for a fleet: what to ask before you buy 200 units
For dealers, importers and fleet buyers, the installation details become procurement questions. The most expensive outcome is not a costly bag; it is 200 bags that need a different bracket for every frame variant in the fleet.
- One hole pattern: confirm the rack's hanger spacing and bolt diameter across all models in the order.
- One hardware standard: stainless M6 fasteners throughout, with spare bolts and keys in every carton.
- Sealing: a gasket plus a drain hole beats a gasket alone, because condensation forms inside rigid shells.
- Shared keys and locks: matching locks across the fleet cut key management to a single set.
- Spare parts: hangers, hinges and latches available as separate line items, not only as complete bags.
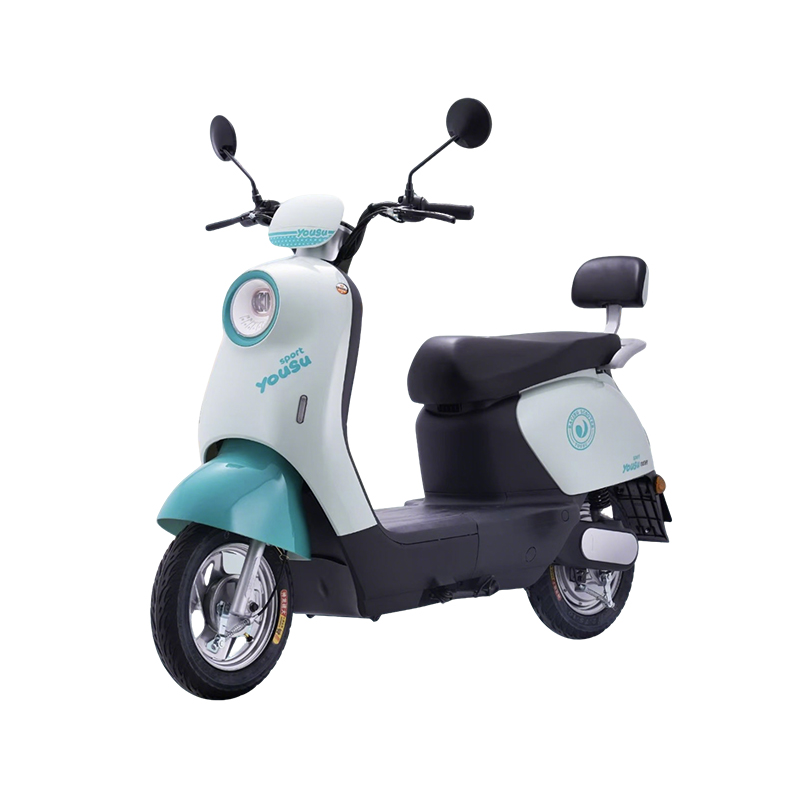
Fitment also depends on rear-end geometry, and wide scooter-style rubber changes the clearance math. A model running 3.00-10 vacuum tires with bumper protection, for example, has less usable space between tire and bracket than a narrow 26-inch bicycle wheel, so the bag's inner profile matters as much as its capacity.
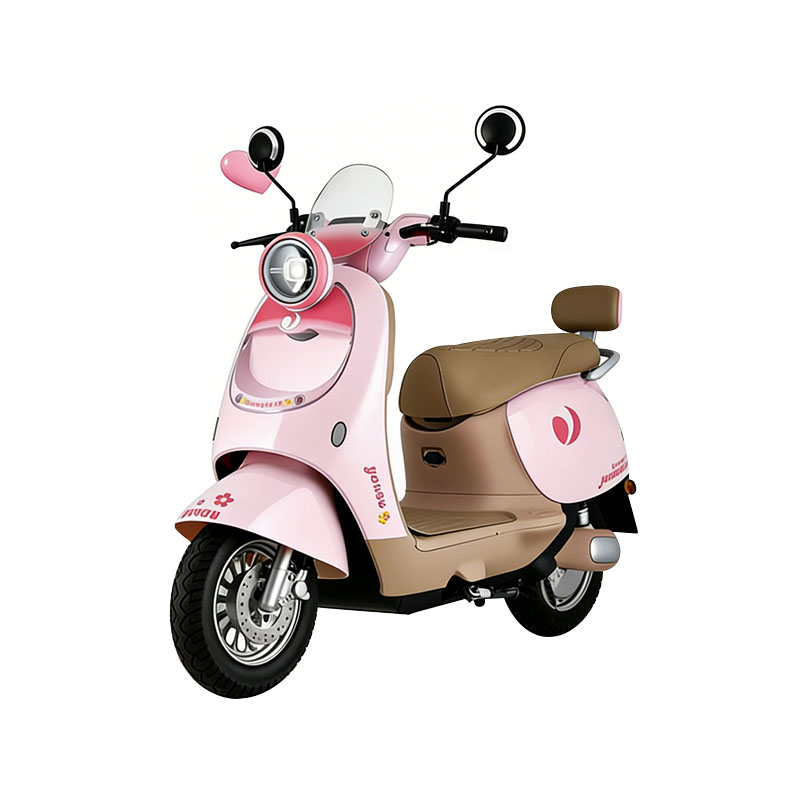
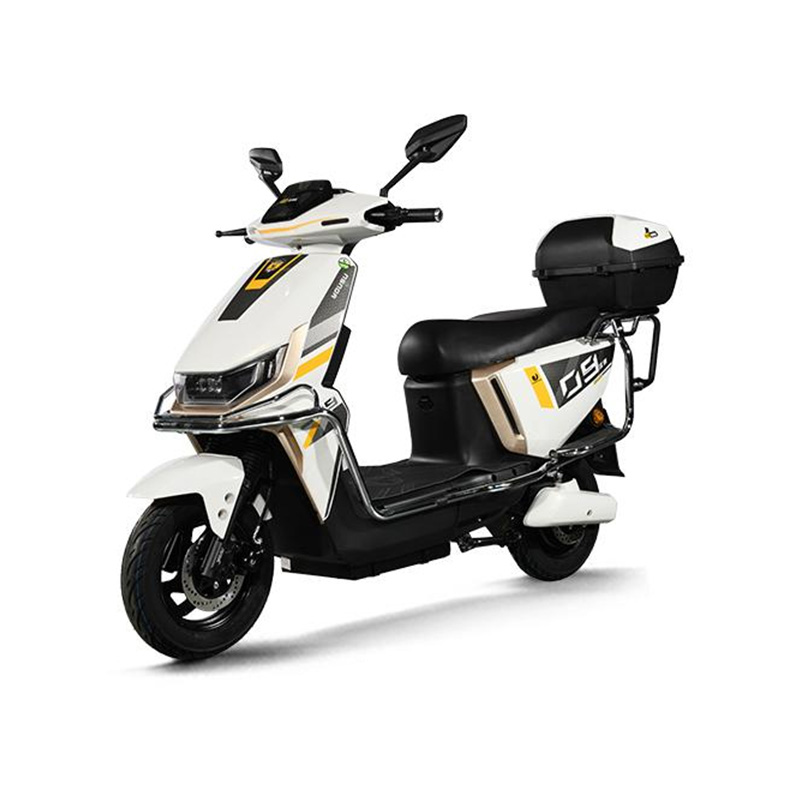 Yousu Robot Electric Scooter with 3.00-10 Vacuum TiresScooter-style 3.00-10 tires and bumper protection make rear clearance and mounting specifications worth checking before choosing a bag bracket.View Product →
When racks arrive already fitted at the factory, ask for the mounting specification in writing, including torque values and the approved bag weight range. It is also worth seeing how the frames and racks are assembled before you commit to a bracket design, because a five-minute change on the line is usually cheaper than a retrofit kit in the field.
A hard bag is only as good as its three contact points
Two upper hangers and one lower stabilizer carry almost everything. If any of the three sits on a flexible surface, the shell will move, the seals will wear, and the bolts will loosen no matter how carefully you torqued them. Work in this order: rated frame-mounted rack, clearance measured under compression, threadlocker and correct torque, then a balanced load.
After the first 50 km, re-check every fastener and look for polished marks where the bag meets the rack. Those marks are the earliest signal that the mount is moving. Fix them while they are still cosmetic.
 Previous