


 English
 Español

Rider Basics
How to Use an Electric Bicycle: Assist Levels, Braking and Real Range
A practical walkthrough for the first ten minutes, the first steep hill and the first hundred charges.
Three questions arrive the moment a new rider wheels an e-bike out of the shop: which button switches it on, how much motor help is too much, and how far the battery will genuinely take them. Getting those three right on day one prevents most of what goes wrong later, from flat packs and hot controllers to the nervous wobble that comes from twisting a throttle before touching a brake.
The short answer: switch the system on, leave the assist at its lowest setting, squeeze both brake levers before you ask the motor for anything, and let your legs set the rhythm. The rest of this guide explains why that order matters, and what changes as you get comfortable.
The First Ten Minutes: Learn the Controls Before You Twist Anything
Most first-ride surprises come from meeting the motor before meeting the brake. Do the walk-around with the system switched off, then bring the bike to life.
- Find the power switch, usually on the battery pack or the left handlebar, and confirm the display lights up and settles.
- Set the assist level to zero or one before you sit on the saddle.
- Squeeze each brake lever in turn and listen for the motor cut-off. On almost every modern controller, power dies the instant a brake switch closes.
- Locate the throttle if your bike has one, along with the walk-assist button that pushes the bike at walking pace while you stand beside it.
- With the rear wheel lifted clear of the ground, blip the throttle once and watch what happens, so the first real application is never a surprise.
Then ride one slow lap of a car park or a quiet street in level one, braking deliberately rather than defensively. Ten minutes of this buys a fortnight of confidence, and it teaches your hands where the levers sit before traffic asks the question for you.
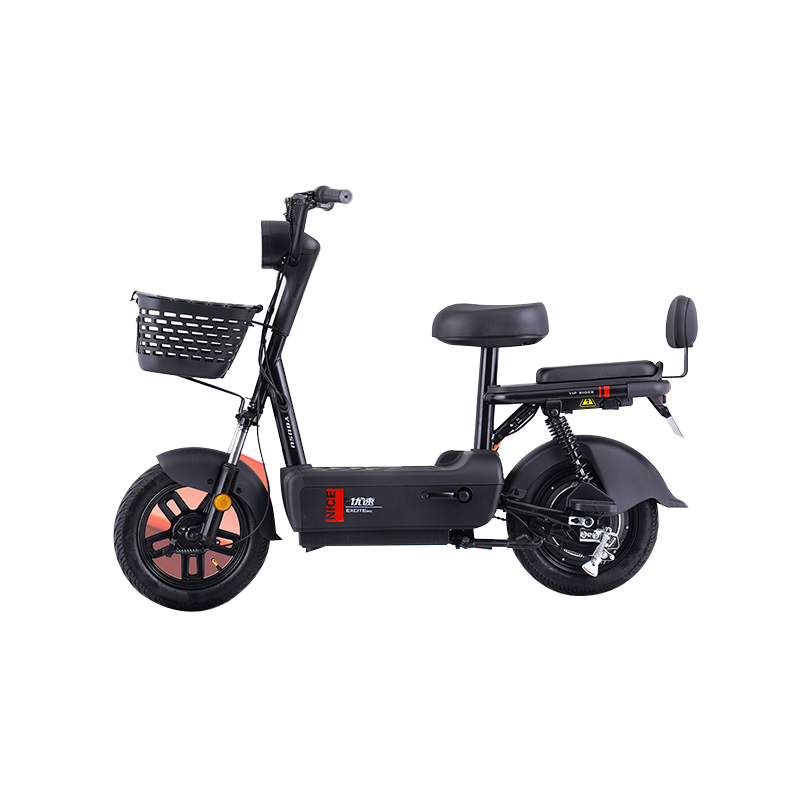
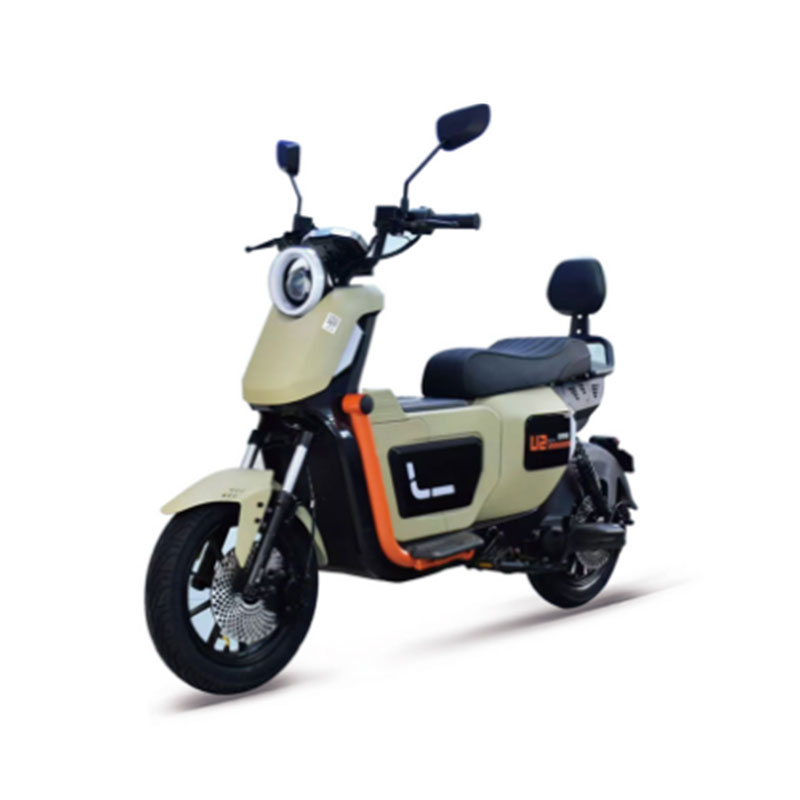
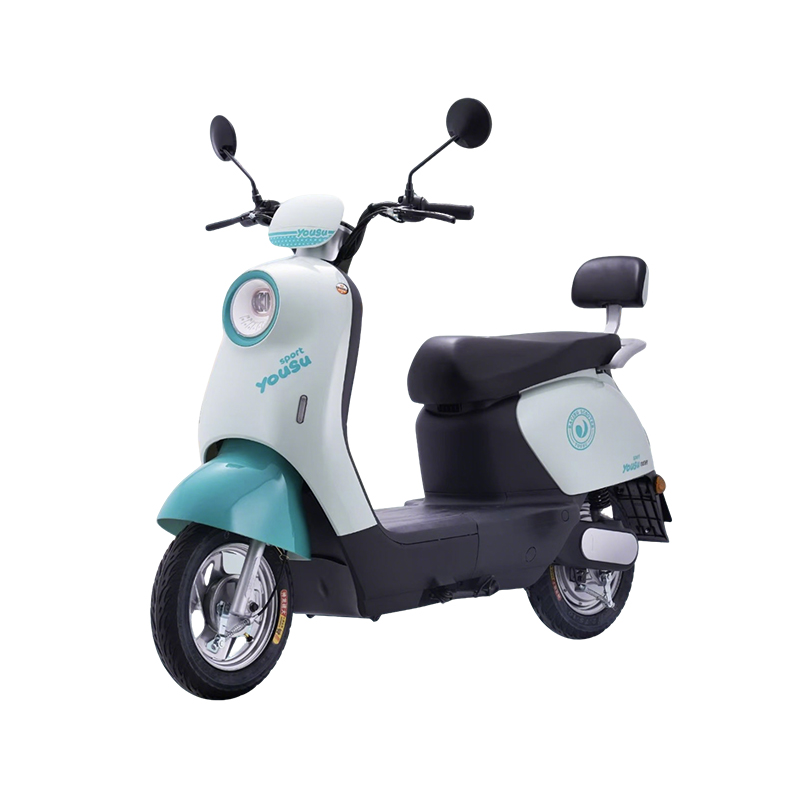
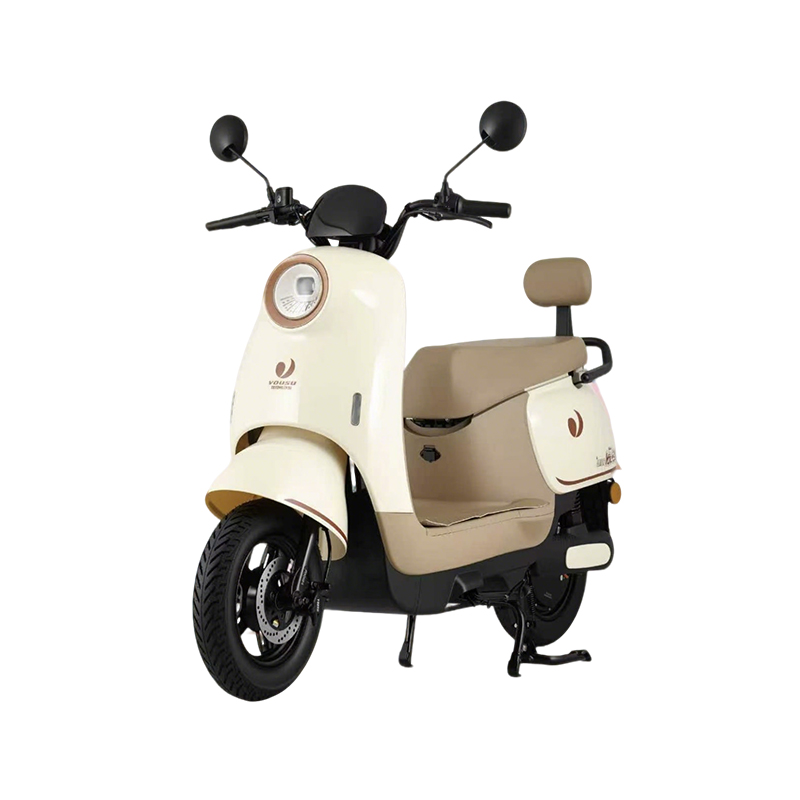
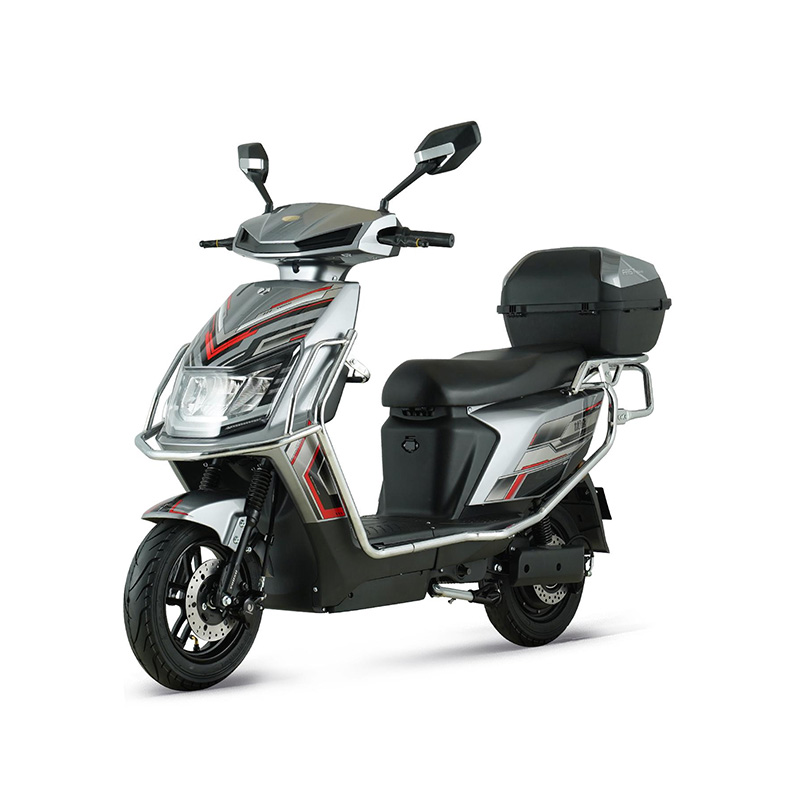
A machine built for short household trips is simply easier to learn on than a performance model. Low step-through frames, modest motors and predictable drum or disc brakes keep the variables down, which is exactly the brief behind a simple-style commuter such as the Yousu Potato.
Match the Assist Level to the Ground, Not to Your Mood
Use the lowest assist that keeps your pedalling comfortable, and change it before the terrain changes rather than after. Riders who climb a hill in level one and descend in level one spend far less battery than riders who leave the motor in boost and fight it with the brakes.
| Level | Where it works best | Effect on range | Effort from you |
|---|---|---|---|
| 0 / Off | Flats, crowded paths, the first few minutes | Full range available | All of it |
| 1 / Eco | Long flat commutes, gentle tailwinds | Longest assisted range | Light |
| 2 / Tour | Rolling roads, light headwinds | Moderate | Moderate |
| 3 / Sport | Steady climbs, loaded racks and panniers | Noticeably shorter | Low |
| 4-5 / Boost | Short steep ramps and standing starts | Shortest | Minimal |
| Walk assist | Pushing the bike up a ramp or a kerb | Negligible | None |
Every assist level is a promise made to the battery. Boost is a short promise; level one is a long one.
Sensor design changes the feel more than the numbers suggest. A cadence sensor adds power as soon as the cranks turn, which can feel like a light switch. A torque sensor reads how hard you push and answers proportionally. Neither is better, but on a cadence-sensor bike a smooth, steady pedal stroke produces a far more predictable ride than short jabs at the pedals. If your bike has gears, shift down before the hill starts, because no assist level can repair a gear that is three ratios too tall.
Throttle or Pedal Assist: What the Rules Expect From You
Most of Europe treats a machine as a bicycle when the motor assists only while you pedal and cuts out at 25 km/h and 250W. In the United States, the three-class system stops assistance at 20 mph for Class 1 and Class 2 bikes, with Class 2 being the one that allows a throttle, while Class 3 pedal-assist machines reach 28 mph. Those definitions decide where you may ride, not just what you may buy.
Check the rules for the paths you actually use. In many cities a throttle-equipped or 28 mph machine is welcome on the road but unwelcome on a shared path, so the same bike can be legal on one route and not on another.
In traffic the practical rule is simple: never launch from a standstill on the throttle. Pedal away in level one or two instead, and keep the brake cut-off within finger reach. Throttles earn their place when you restart on a slope, walk the bike through a tight gate, or recover momentum after an unexpected stop.
If you are still working out which kind of machine suits your route, this overview of simple model electric scooters explains how frame style, motor size and battery capacity change the day-to-day experience.
Battery, Cold Weather and the Range You Actually Get
The figure on the box comes from a test bench. Real range depends on rider weight, tyre pressure, hills, wind, temperature and, more than anything else, assist level and speed. Cold mornings shave a visible slice from usable capacity, and a tyre left well below its sidewall rating can cost nearly as much.
- Charge in a dry, ventilated space, away from anything that burns easily.
- For daily commuting, keep the pack roughly between 20% and 80%, then charge to full before a long ride.
- Leave a bike that will sit unused for weeks at about 50-60%, never at zero and rarely at 100%.
- Let a cold pack reach room temperature before charging it.
- Use the charger supplied with the bike and unplug it once the indicator says full.
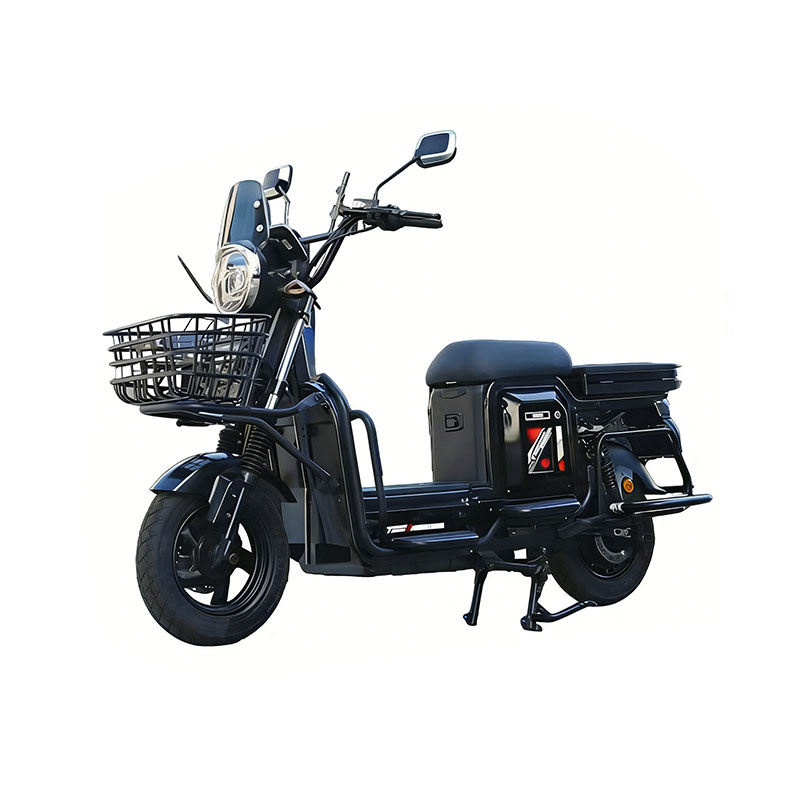
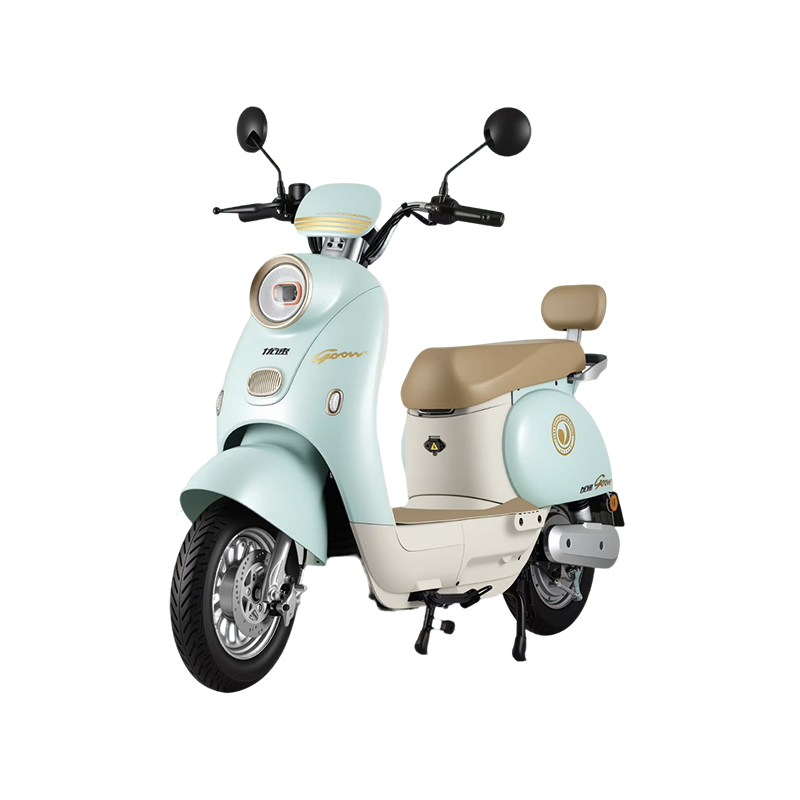
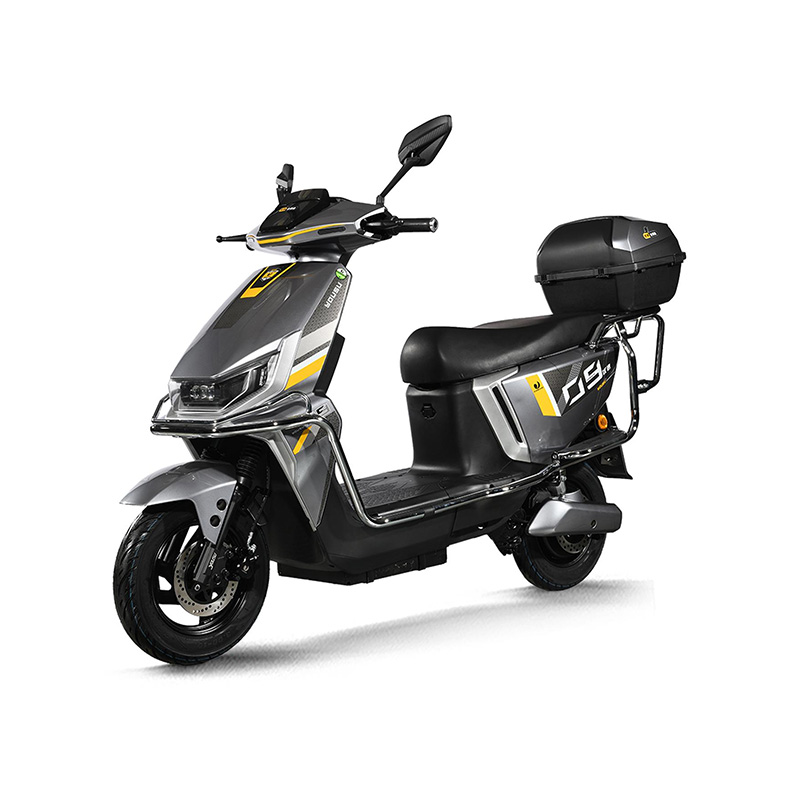
Capacity is the honest measure of range. A 48/60V 20Ah pack, the configuration used on the Yousu Beam, a 500W commuter with vacuum tyres and a relaxed, rounded frame, carries enough energy for a week of short trips between charges for many riders. A smaller pack on a light city bike behaves very differently, which is why the same range claim can feel generous on one machine and optimistic on another.
Stop charging at once if a pack becomes hot, swollen or gives off a sweet chemical smell. Move the bike outside, away from the building, and have the battery inspected before riding again.
Fast Charging Changes How You Plan a Long Day
Two charges a day is normal for delivery riders, shift workers and anyone commuting further than the pack comfortably allows. Charging speed, not just capacity, decides whether that second run is realistic. A standard 2A charger refills a 20Ah pack over a night, while a 10A charger on a compatible machine pushes visible bars back into the display in the time it takes to drink a coffee.
The trade-off is heat. Fast charging works best occasionally, at moderate ambient temperature, and rarely on a pack that has been run completely flat.
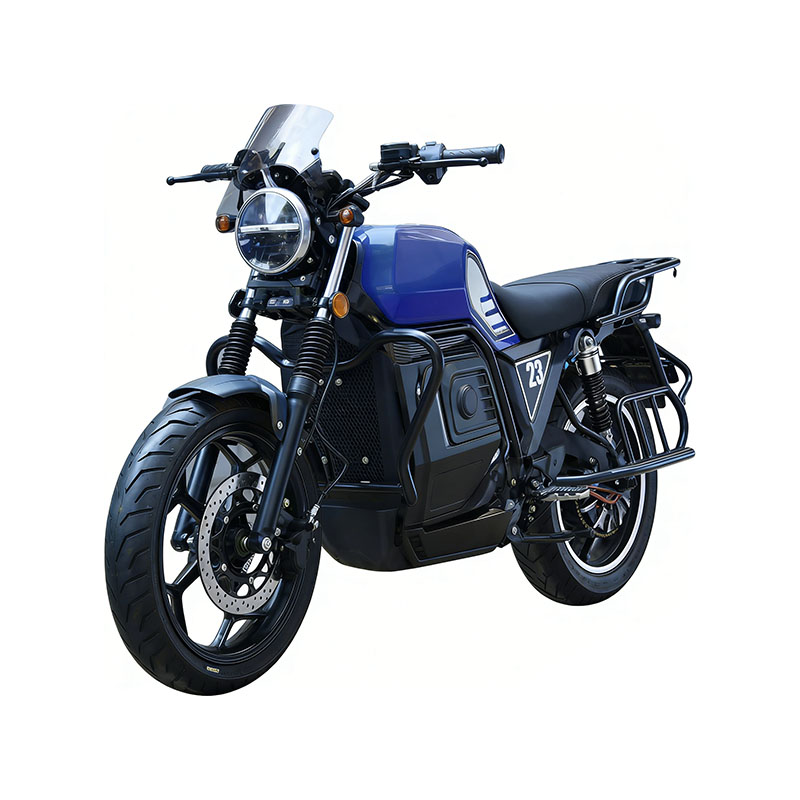
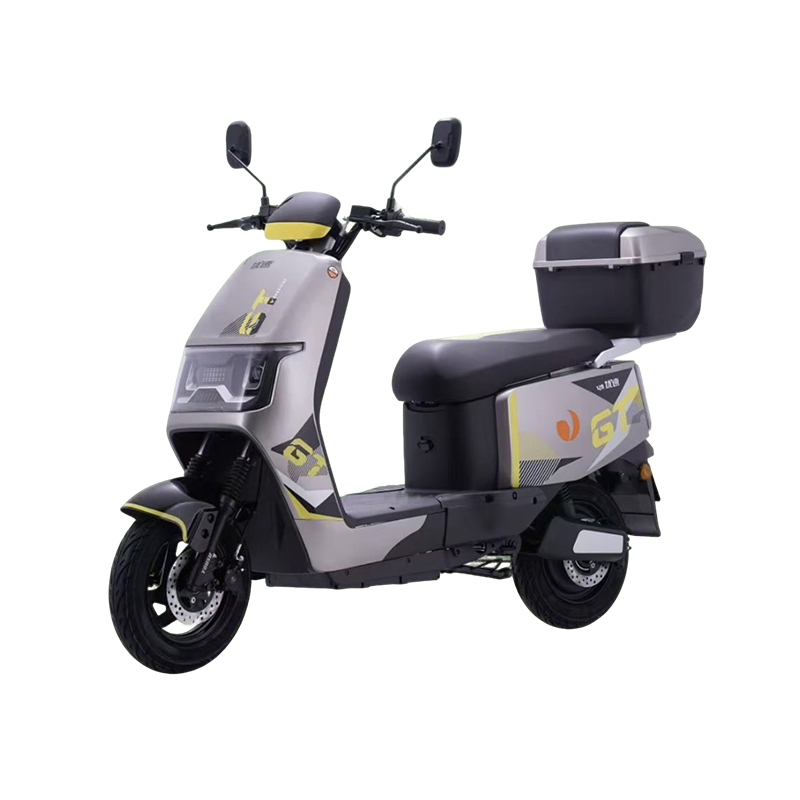
Fast charging has moved down from flagship tourers into mid-range and high-end models, and the Yousu A7Pro, a 10A machine rated at two bars per minute, shows where that direction is heading.
Parking, Locking and the Two-Minute Weekly Check
Park on firm, level ground, and put the stand down before you let go of the bars. On hot days, park in shade rather than full sun, because high temperatures age a lithium pack faster than mileage does. If the pack is removable, take it with you when the bike is left somewhere unfamiliar, and take the key with it.
Lock through the frame and a fixed object rather than through a wheel alone, and if your bike carries an alarm and a steering lock, use both. An alarm paired with a locked steering column turns a two-minute theft into a struggle most opportunists will not bother with.
The weekly routine is short. Check tyre pressure against the sidewall, feel both brake levers for firmness and listen for rubbing, glance at the battery mount for play, and confirm the lights and the brake cut-off still work. Everything on that list fails gradually, and it usually announces itself quietly long before it strands you.
Two minutes a week catches almost everything that turns a small adjustment into a roadside repair.
Riding Well Is Mostly a Habit
Using an electric bicycle properly is not a technique you perfect once. It is a set of habits: start in the lowest assist, brake before you accelerate, charge the pack on a sensible schedule, and check the machine before it has a chance to complain. Do those four things and the bike stops being a piece of equipment you manage and becomes simply how you get around.
If you would rather match the machine to the route than adjust the other way round, the full range of Yousu models covers household commuters, long-range builds and high-performance machines, with motor, controller and battery specifications listed for each.
 Previous